LinkedIn Profile Picture Size: Dimensions, Specs, and Crop Tips
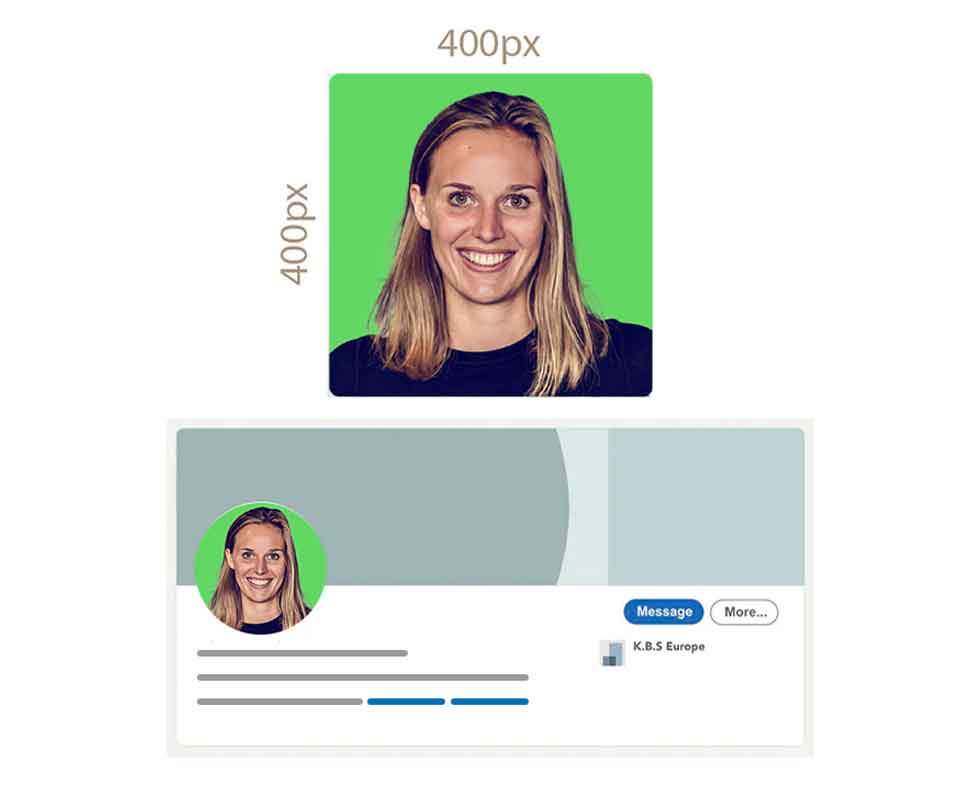
The recommended size for a LinkedIn profile photo is at least 400 x 400 pixels. The file size must not exceed 8 MB, and accepted formats include JPG, GIF, and PNG. Following these requirements ensures optimal display on both personal profiles and company pages, while helping you avoid blur or awkward cropping.
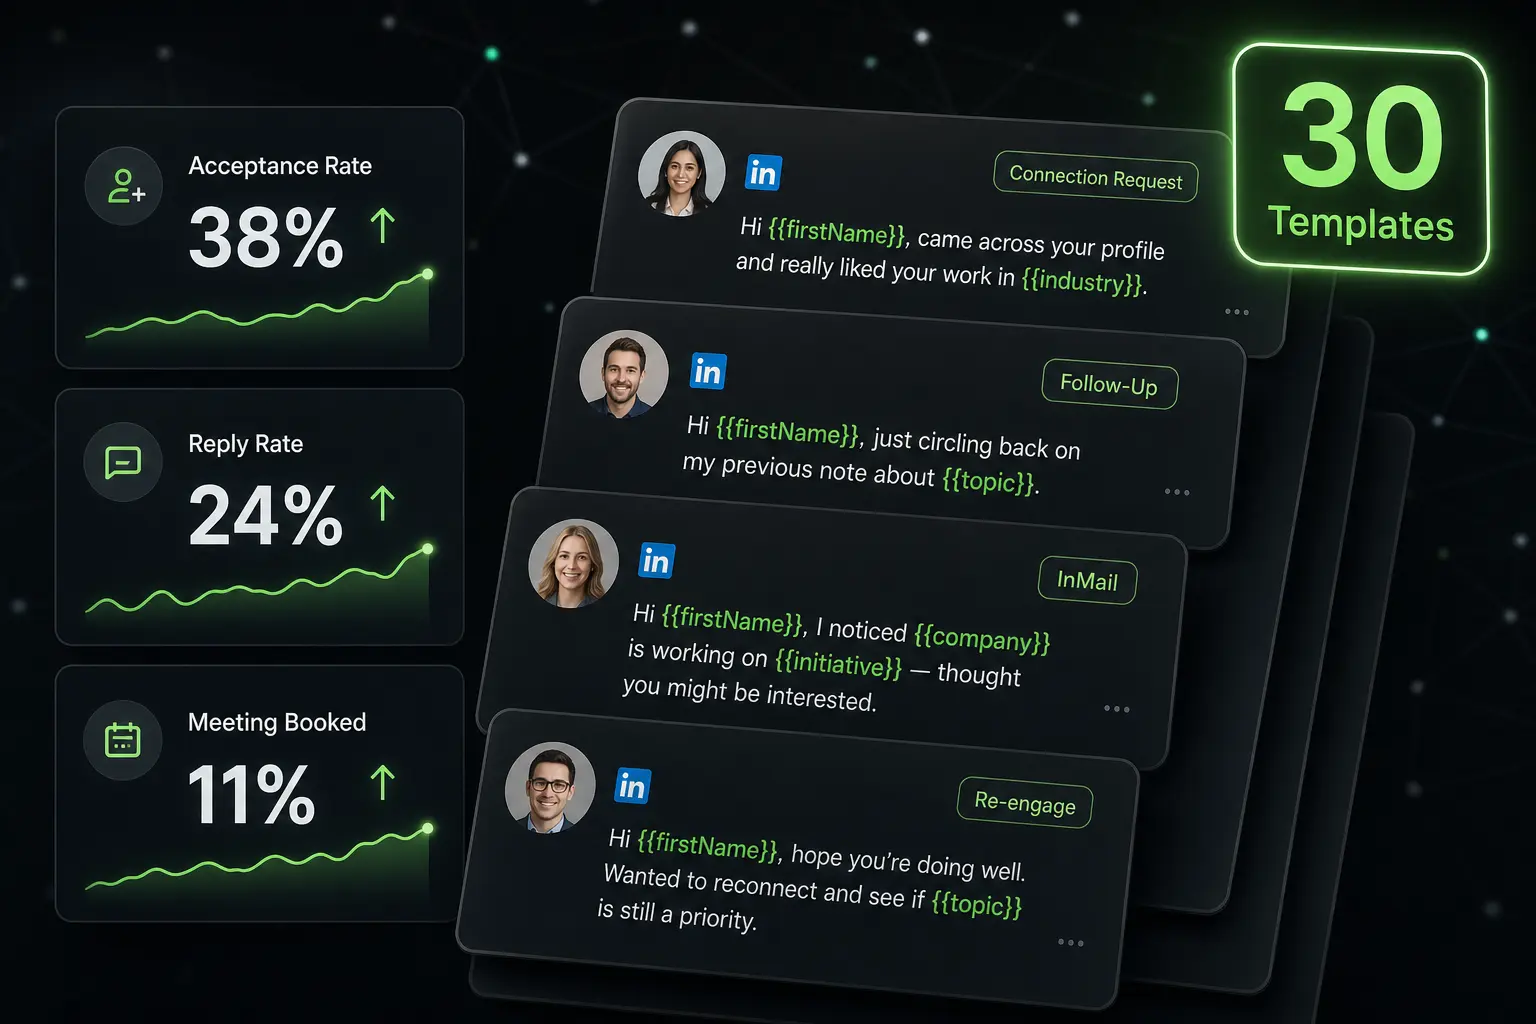
A well-sized image makes a real difference on LinkedIn: it grabs attention, strengthens your professional credibility, and can even help boost your connection acceptance rate.
LinkedIn profile photo specifications
Recommended dimensions and ratio. For the best results across all screens, use a square image with a 1:1 ratio. The recommended dimensions are 640 x 640 pixels. Although LinkedIn accepts image sizes up to 7680 x 4320 pixels, this format gives you a crisp result without making the file unnecessarily heavy.
Minimum size and accepted dimensions. The minimum accepted size is 400 x 400 pixels. Staying within the accepted range ensures your LinkedIn profile photo displays correctly and without distortion.
Maximum file size and supported formats. The maximum file size for a personal profile image is 8 MB. Supported formats are JPG, GIF, or PNG. Avoid formats like SVG or TIFF, which are not supported.
Why your photo appears round and how to avoid bad cropping
Understanding automatic circular cropping. On LinkedIn, your profile photo is automatically displayed inside a circular frame, even if you upload a square image. This automatic crop removes the corners of your photo when it is shown on your profile or a company page. The circular presentation is used on both mobile and desktop, with the center of your image receiving the most visibility.
Safe area to respect. To prevent important elements from being cut off, leave some space around your face or company logo. Keep roughly 15% to 20% of empty space on the sides. Do not place text or key elements near the image edges, because they may disappear in the circular crop. Keep the main elements centered in your composition.
Professional centering and framing. For a professional crop: position your face at the center of the circle, with your eyes around the upper third for a balanced, polished look. Choose a simple, neutral, or slightly blurred background to highlight your face or logo. This method keeps your photo sharp and well-framed no matter which device people use to view your profile.
What resolution to choose for a sharp photo on mobile and desktop
Upload larger than the final display size. Uploading an image larger than the final displayed size allows LinkedIn to resize it more intelligently, which helps preserve sharpness on Retina screens and high-definition mobile displays. An ideal resolution is between 800 and 1200 pixels per side.
Avoiding blur: compression and over-optimization. Use a clean file with no visible artifacts caused by excessive compression. Be careful with over-optimization, which can make your image look blurry after processing. Always test the final preview to make sure it remains clear on both desktop and mobile.
Colors and brightness: keep it natural. Maintain light contrast and natural brightness, and avoid aggressive filters. Heavy filters can reduce image quality once compression is applied. A well-balanced photo keeps a professional appearance and stays easy to read in every viewing environment.
Personal profile photo vs company page logo
Personal profile: portrait that stays readable as a thumbnail. For a personal profile, choose a portrait that remains perfectly readable as a thumbnail. This smaller version often appears in notifications or connection lists. A smiling, expressive face works especially well at this size because it reinforces the active, relationship-driven side of your presence on the platform.
Company page: square, high-contrast logo with no fine details. For a company page, use a square logo with generous margins and a solid background if needed. This guarantees immediate recognition even at a reduced size. Avoid fine details that can get lost in thumbnail view. A simpler logo usually does a better job of reflecting the professionalism and strength of your brand.
Common mistakes on the company side. Common mistakes include logos that are too complex, use too many colors, or contain text that becomes unreadable at a small size. Poor contrast can also make your image nearly invisible on light or dark backgrounds.
How to resize and crop your photo (simple method)
Step 1: start with a square image. Crop your photo to a 1:1 ratio using a free tool like Square Image or Fotor. Select the central area of the image and apply a square crop before exporting it.
Step 2: check the circular safe area. In your editor, simulate a round mask using tools like Canva to anticipate LinkedIn’s specific crop. Make sure the main subject is properly centered. If needed, zoom in slightly so the circle feels full without cutting off important details.
Step 3: export in the right format and file size. Export your image as JPG or PNG. Make sure the file stays under 8 MB. Set quality between 80% and 90% to strike the right balance between sharpness and file weight. Upload the file and check the preview on desktop and mobile before confirming.
Where to change your profile photo on LinkedIn
From the desktop. Open your profile, click your icon in the top left, then select “View Profile.” Hover over your current photo and click the camera or pencil icon that appears. Then choose “Update Photo” to upload a new file from your computer.
From the mobile app. Tap your photo in the top left to open your profile, then tap directly on the image in the middle of the screen. Select the camera icon at the bottom. Allow access to your photos if asked, then choose an image from your gallery and adjust it if needed.
After uploading. Always preview the circular result on both the web and mobile versions. If needed, adjust the zoom or positioning directly inside LinkedIn before saving your new profile photo.
Troubleshooting: my photo won’t upload
Wrong format or incorrect size. Check the following: the image format must be JPG, GIF, or PNG; the file size must not exceed 8 MB; and the dimensions must fall between 400 x 400 and 7680 x 4320 pixels. If your file does not meet these requirements, LinkedIn may reject it without warning.
Browser or app issue. If your image meets the requirements but the upload still fails, try another browser (Chrome, Firefox, or Safari), close and reopen the LinkedIn app, or clear your browser cache or the app’s stored data.
Compression and clean re-export. If the issue continues, your file may be corrupted. Re-export your image as JPG or PNG using a tool like Adobe or TinyPNG, reduce the file size slightly while keeping good visual quality, then try uploading the new version.
Key LinkedIn image sizes to know
| Format | Recommended size |
|---|---|
| Profile photo | 640 x 640 px (min. 400 x 400 px) |
| Profile banner (cover photo) | 1584 x 396 px (safe area: 1404 x 396 px) |
| Post image (square) | 1080 x 1080 px |
| Post image (landscape) | 1200 x 627 px or 1620 x 1080 px |
| Company page logo | min. 300 x 300 px |
| Company cover image | 1128 x 191 px |
Why a strong profile photo helps in prospecting
Credibility and acceptance rates. A polished profile photo creates a positive first impression in less than 400 milliseconds. It can multiply profile views by up to 14 times and improve invitation acceptance rates. A professional and consistent image builds trust, which makes your outreach messages more effective.
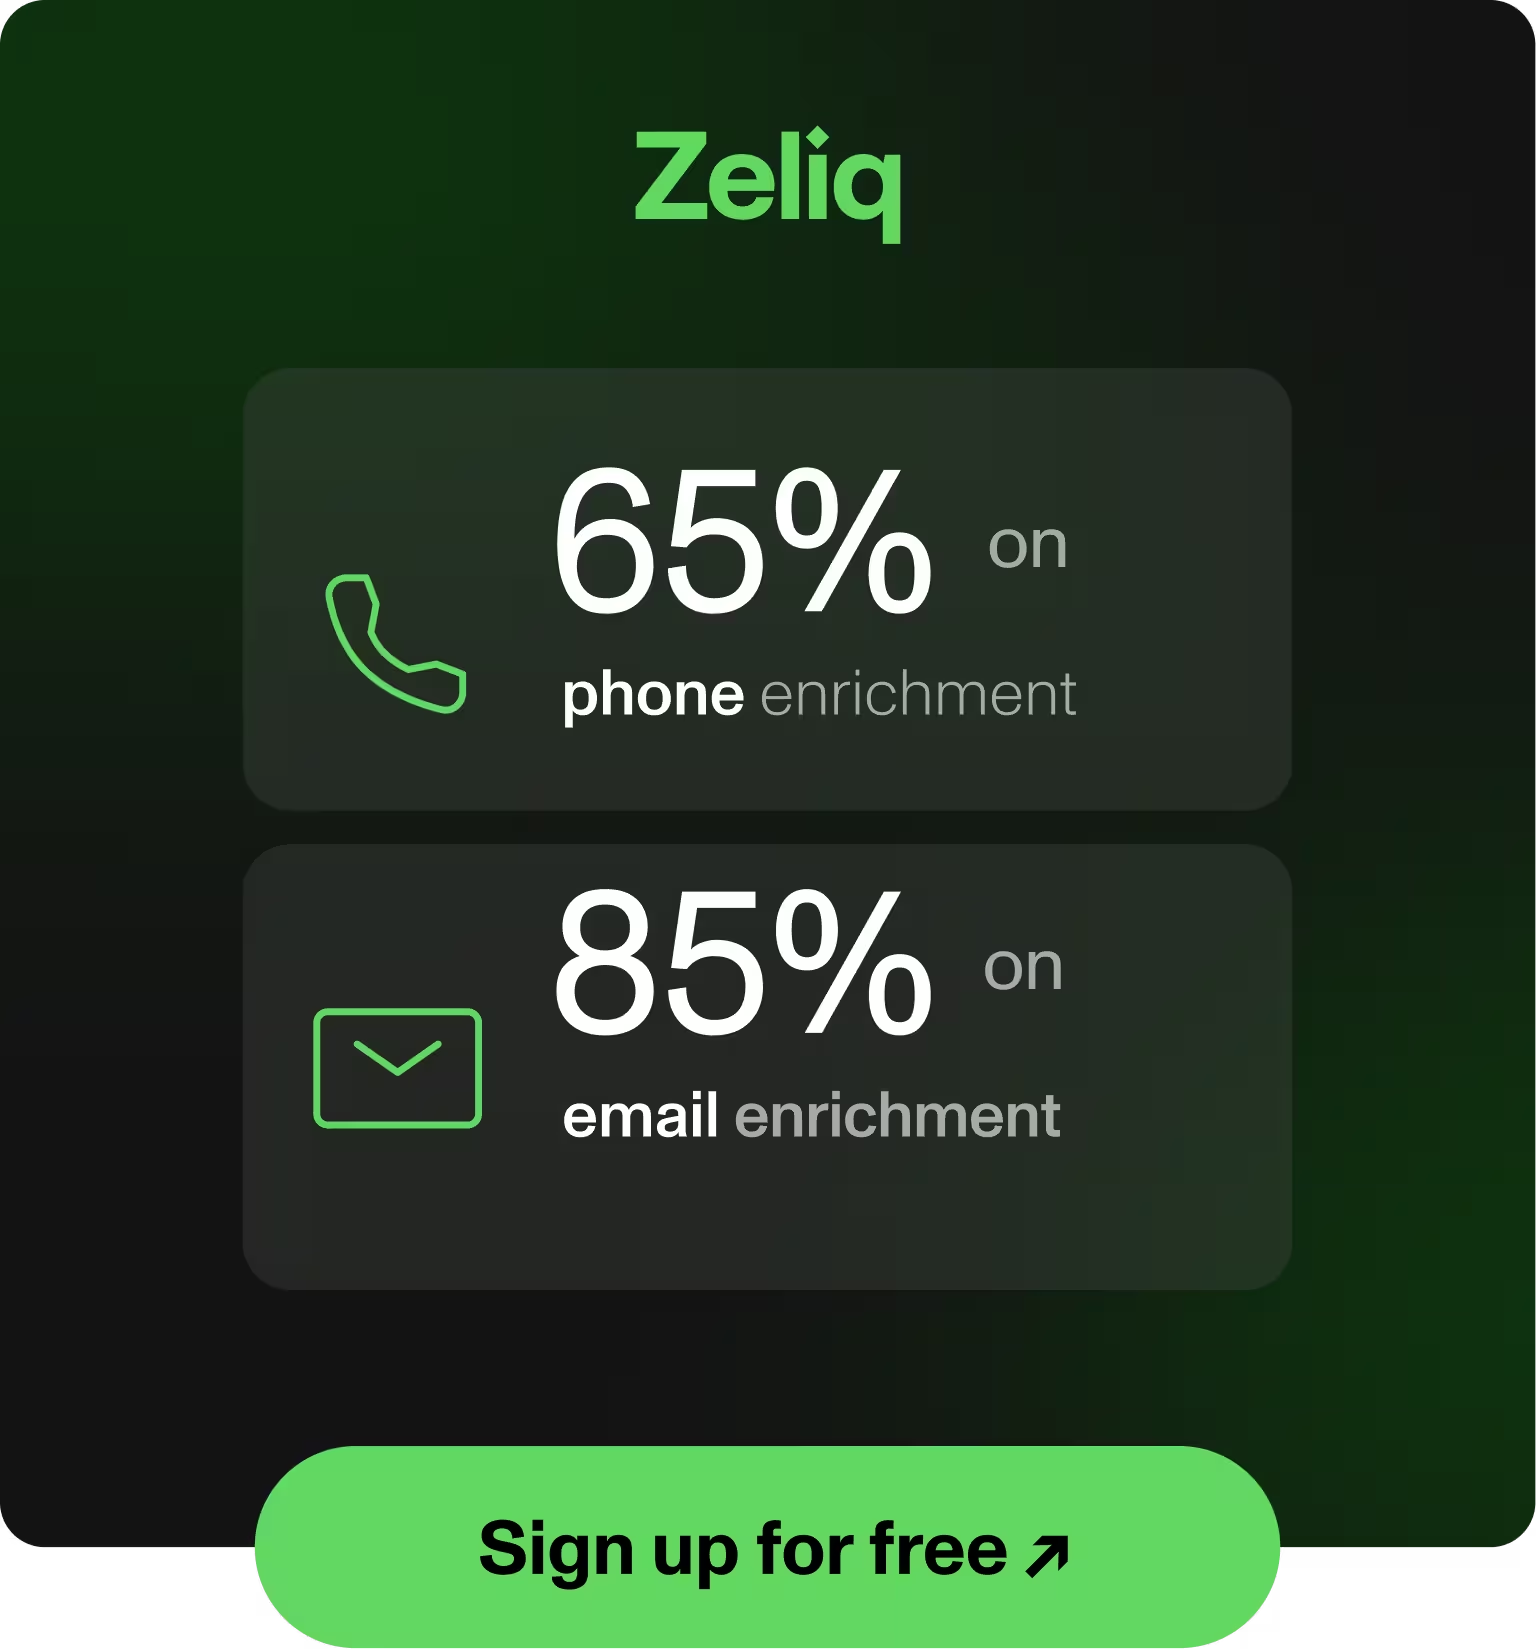
From LinkedIn to a smoother workflow with Zeliq. Zeliq makes it easier to manage leads coming from LinkedIn by automatically enriching them with verified professional contact details such as email addresses and phone numbers. With this tool, you can run a fluid multichannel follow-up process: send personalized emails, schedule LinkedIn tasks, or make calls while keeping a full interaction history. A stronger profile image means higher acceptance rates, and Zeliq helps you turn those accepted connections into qualified opportunities.
Want to turn your LinkedIn prospecting into a real pipeline? See how Zeliq enriches and activates your contacts automatically.
Book a demo